Friday, April 27, 2012

Shoot Your Passion


Photography can be very simple, yet complex at the same time. It can be interpreted in so many ways. For some people it's a "hobby", for others it's how they make a living. And then there are the folks who fall somewhere in between. No matter where you fall on the scale, having a passion for what you do has to be a part of it. More on that in a bit. I don't really have an outline of what I want to say other than to share some thoughts and things I've learned. This is not a technical how-to post and, as people who know me can attest, I don't think of my own photos as all that good. I'm always learning and have much to learn. I just had a few thoughts bouncing around in my head and I wanted to share them with anyone who cares to use up two minutes of their time.


I'll start by saying you should know your equipment, but don't get hung up on equipment. What do I mean by that? It doesn't matter what you use to take your photos, but it's important to be intimately familiar with your gear. Owner's manuals are some of the most boring pieces of literature to read. On the other hand, they can be very useful. When I bought my last camera, I forced myself to read through the manual several times even though I was somewhat familiar with the system. I didn't do it all at once, but I read through it several times over the course of a few weeks. It paid off because I picked up some things I wouldn't have figured out until much later. Being intimately familiar with your camera means being able to make adjustments and changes without dropping the camera from your eye. Do you know how to change exposure, shutter speed, or aperture settings without looking at the menu? I realize some of this isn't possible with some cameras, but if you use a DSLR, you should know the shortcuts available on your particular camera. Cameras are tools, nothing more. The more familiar you are with your tools, the better you will be able to use them.


I said you should know your equipment, but not get hung up on equipment. Don't fall into the trap of thinking you need the most expensive camera or the biggest lenses to be a good photographer. That's hogwash. The most expensive camera in the world can't walk outside and take a picture by itself. Like I said, cameras are just tools. Do some cameras have more features and functions than others? Of course. But that doesn't mean the photos are better. Like all tools, they're only as good as the person using them. If a novice starts out with a top of the line Canon or Nikon, his or her photos are not automatically publication worthy just because the camera cost thousands of dollars. It doesn't work that way. The best camera you have is the one you have. Learn it intimately and your photos will reflect that. There's nothing wrong with having expensive gear. Upgrading and adding equipment is fine and a natural progression. Just don't get hung up on seeing what other photographers use and think you have to have the same gear in order to be successful. 


Another trap I think we sometimes fall into is seeing the photographs of other people and wishing ours were like theirs. Don't start comparing your work to the work of others to the point that you get discouraged. It's fine to look at the photos of others to find inspiration or ways to improve yourself, but if you spend too much time looking at other photographer's work instead of taking your own photos, you're doing yourself a disservice. Photography is about you on a personal level. Don't take pictures based on what you think other people are going to like, take them based on what you like. Unless you're being paid by someone for a specific assignment, it shouldn't matter what anyone else thinks.


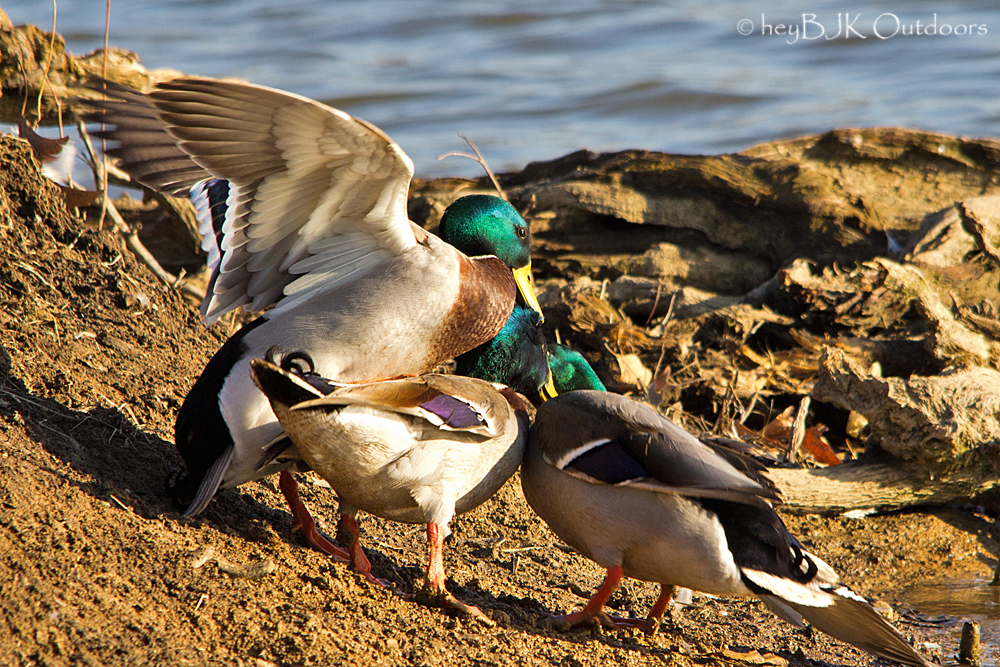
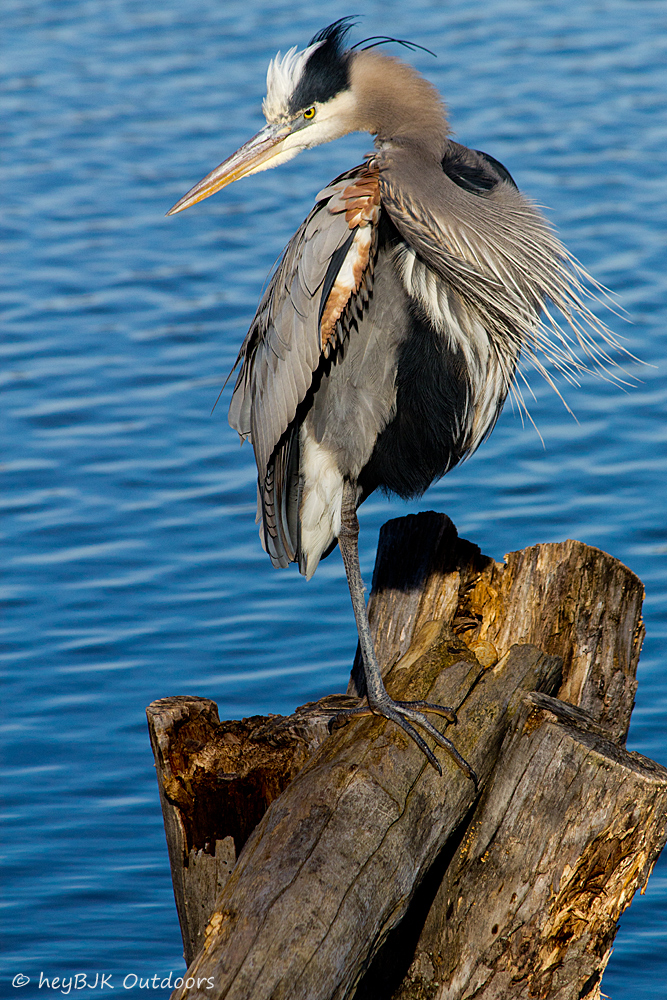
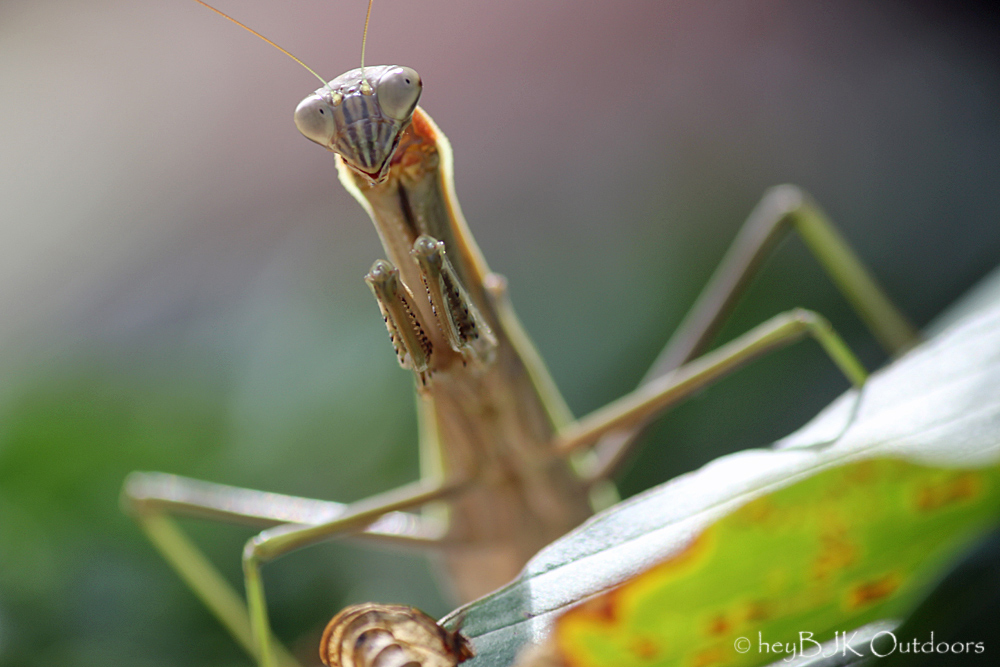
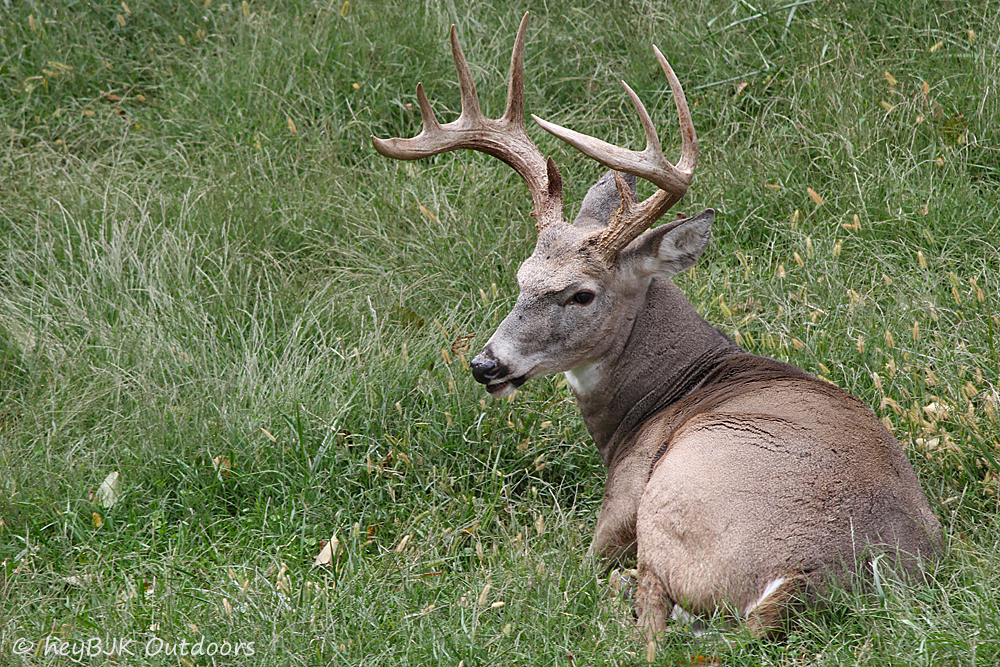
This brings me to what I think is the most important element in photography and what I mentioned at the beginning - passion. Shoot your passion. Whatever that is. I have a passion for wildlife, nature, and outdoor photography. It's what I enjoy. Some people have a very specific passion. For example, some photographers enjoy shooting only birds, or landscapes, or flowers. That's what they enjoy. Most people already know what their photography passion is. If you don't, take time to figure it out. If you are passionate about something, you will enjoy shooting it and your photos will be much more meaningful to you.


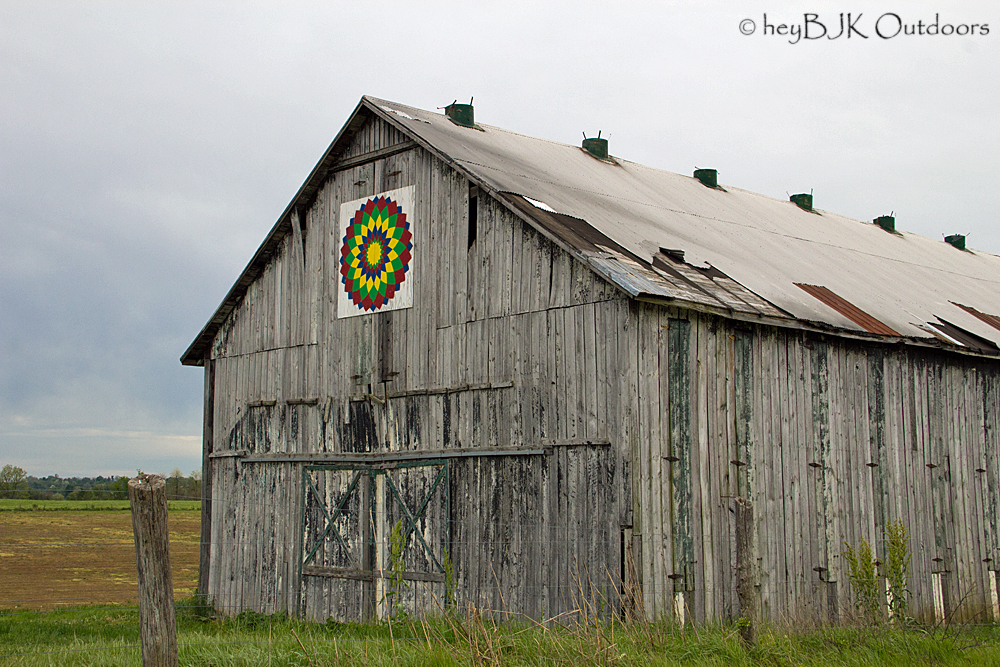
Having passion in your photography is important. That doesn't mean you can't occasionally step outside your passion zone and shoot something different. I've shot some cityscapes, other non-wildlife subjects, and, a long time ago, did weddings. I found out quickly I didn't like shooting weddings. There was too much stress. I learned some things, though, and that made me better at what I really enjoy. Don't be afraid to take on subjects that you may not particularly like. Those exercises can broaden your knowledge and skills.


Cameras and all of the associated gear are just tools. The person using them is the one who makes the photos. It's your vision, your creativity, and your passion that produce great shots. Follow your passion and shoot your passion. I've said before the more photos you take, the better your photos will become. You do have to have a desire to learn and improve. If you don't think your shots are very good, but you don't have the desire to improve, it will be a much longer process. There are lots of "rules" in photography, but a couple I truly believe in are to always have a camera with you and to take photos on a regular basis. I sometimes take pictures for no other reason than to practice. I take them and then delete them. People practice all the time for lots of different things. Photography is no different. Just because you take photos doesn't mean you have to show them to anyone or even keep them. The point is to improve and get better at whatever your photography passion is.


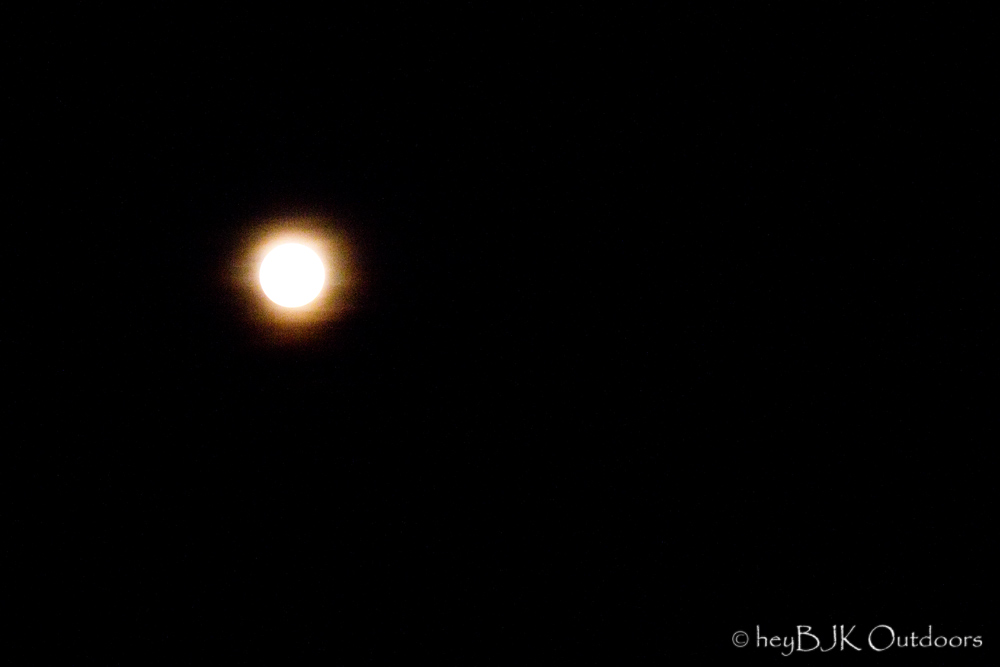
Many of us participate in link-ups or memes and those are great ways to practice skills. And why not give yourself an assignment? If you're having trouble finding something to photograph, challenge yourself. You could document the progression of something like a flower garden. Or photograph all of the historical sites in your area. Try taking pictures off all the moon phases. Visit parks or wooded areas and look for unusual trees. Make a long term goal of getting photos of all the birds common in your area. Experiment with light. Take photos early in the morning one time, mid-day another time, and in the evening to finish it off. Look at how the light changes and affects your photos at the different times. That forces you to pay attention to your camera settings and how you need to adjust them depending on the light. There are countless ways to challenge yourself and it gives you a goal to work toward and the satisfaction of completing it.


Learn your camera intimately. Don't get hung up on gear or the work of other photographers. Practice. And most importantly, shoot your passion. Photography should be enjoyable!


(On a side note, I'm going to be quite busy for the next several days and won't be blogging during that time. Unfortunately, it means I won't be able to visit your blogs. I didn't want anyone to take my lack of comments over the next few days to mean I had stopped visiting their blog. I'll be back to business as usual as soon as I'm free.)


Tuesday, April 24, 2012

Duck Fight


While photographing herons one day, I noticed some commotion on the bank and saw these fellas huddled up. It turned out they weren't talking sports or downing some cold ones. They were engaged in a bit of a duck scuffle. A little squabbling amongst the males of the species.


And what, you may ask, was the source of the tension? Why, the female of the species. Miss Thing. She was just sitting there acting innocent as if nothing was going on. The boys later continued their squabble out on the lake with Miss Thing swimming behind them apparently waiting for one of them to be declared the victor.


Monday, April 23, 2012

Kentucky Barns...Not Black


In my recent barn posts, I've been showing you a lot of black barns, similar to this first one, which are common here. However, black is certainly not the only color of choice.


This barn is located on one of our many horse farms.


And this is an old agricultural barn that has been spruced up a wee bit. It's akin to putting a Band-Aid on a gaping wound, but whatever works.


Linking to Barn Charm


Saturday, April 21, 2012

Thursday, April 19, 2012

How I Shoot The Moon


After posting some of my moon shots recently, I was asked by several people how I get the photos to turn out the way they do. I'm not a professional by any stretch of the imagination. I basically learned through trial and error. I had a whole lot of bad shots to get to the decent ones I posted. If I had someone to show me, it would have been much easier.

Equipment does play a part in the equation, but the right settings are very important. I realize not everyone has the same type of gear and you may be limited by what you have available. Even so, you may be able to make some adjustments and at least improve the results with what you have.

Typical Shot

A lot of people shoot with their camera in automatic mode. There's nothing wrong with that for many situations. Auto mode doesn't work for moon shots, though. The camera will try to compensate for the dark scene and end up overexposing the moon turning it into a bright blob of light with no detail. All of us have seen photos that look like this one.


That is the moon, but it's grossly overexposed and there's absolutely no detail. It could just as easily be any bright artificial light source. Point-and-shoot cameras and DSLR's set on auto will generally give you this kind of result. The best way to shoot moon photos is in manual mode if your camera is capable of that. This is a situation where you need to tell your camera to step aside and let you make all the decisions.

My Gear And Settings

I use a DSLR and a 500mm lens for moon photos. Not everyone has a large lens like that, but you should use the longest reaching one you have.

I always shoot in manual mode and I also focus manually. Auto focus doesn't do well in a situation like this. It's not like the moon is going to jump up and run away, so you have plenty of time to focus manually and make sure it's dead on. Again, depending on your equipment, you may not have the option to focus manually.

My f stop is normally set from 8 to 11. All DSLR lenses have a "sweet spot" in the f stop ladder where they provide the sharpest result. Generally, that's two to three stops above the lowest number (or largest aperture) of your lens.

My shutter speed varies a bit more, but generally stays in the 160-400 range. If the moon is really bright, I'll use a faster shutter speed like 400 to keep the moon from being overexposed. If the moon is pale or darker, I'll use a slower shutter speed to keep it from being underexposed. This is where experimentation and taking shots at different speeds will show you where you need to be.

A tripod is a big help and it's a good idea to use one if you have it. The majority of my moon photos, however, have been taken handheld. That's because I often get my shots while out driving and I don't have my tripod. I pull off the road and rest my lens on the door frame or get out and lean against my truck for support. If I'm home, I'll use my tripod and a shutter release cable.

Other Considerations

This definitely may not apply to everyone, but if you can do it, it's another way to get the end result you want. I shoot all of my images in RAW format rather than JPEG. You have to have a camera capable of doing that. Most DSLR's will and perhaps some advanced superzooms and newer high end point-and-shoots. RAW format gives you greater ability to tweak your photos during post-processing. You can adjust the white balance and exposure. Your eyes see the moon as white, but sometimes in your photos it may have a colored tint to it. If the exposure wasn't exact during the shot, you can adjust this with RAW images. You don't have as much freedom to do this with JPEG photos. You have to have editing software capable of handling RAW images (like Photoshop or Lightroom). If you own a DSLR, it most likely came with software that will do this if you don't have a third party editing program. Shooting in RAW is not a must-do by any means. It's just another way to help get the desired results.

A second consideration is cropping. Even with a 500mm lens, you aren't going to be able to fill the frame with the moon. It's just too far away. If you want an "in your face" shot that shows the detail on the surface of the moon, cropping is a way to get it.

This shot was taken with my 500mm lens and has not been cropped. There's nothing wrong with this photo and sometimes you may want a shot that gives the feeling of space.


This is the very same photo, but I've cropped it to eliminate some of the space and provide a more detailed look at the moon. This is where focusing becomes very important. Cropping this way only works if your focus is spot on. If the focus is off, cropping will only make it more apparent.


Another tip to keep in mind is the position of the moon in the sky. Full moons low on the horizon often appear very large and brilliant. If you can take your shots while the moon is low, you can get some dramatic results. Your surroundings will play a part in this. Buildings, neighborhoods, trees, and the terrain often block the moon when it's low. I already know the spots I can go to and catch the moon in this position. That's not to say you can't get great shots when the moon is higher. I've taken many photos when the moon is overhead, but it loses that large, looming appearance. And the moon phase also plays into that. Obviously, it doesn't look like that every night.

To summarize, shoot in manual mode, focus manually, and try setting the f stop in the 8 to 11 range with shutter speeds in the 160 to 400 range. I didn't address ISO settings, but I keep mine as low as possible. Keep in mind, pressing the shutter button is free! The great thing about digital is you can take all the shots you want. Experiment with your settings and just keep taking pictures. There's a delete button on your camera for a reason. I'm a firm believer that the more photos you take, the better your photos will become. It requires practice just like anything else.

I don't know if any of this will really be helpful to anyone, but if just one person emails me and says something here was useful and made a difference in their photos, then it was worth it. And, please, if you already get good moon shots, don't screw them up by listening to me.


Tuesday, April 17, 2012

Fishing...Great Blue Heron Style IV


Watching herons fish (or hunt, depending on how you see it) can be very interesting. They generally employ one of two methods. Often, they will stand nearly motionless and wait for the prey to come to them. Other times they will slowly wade as they search for a meal. When a heron spots a potential target, they will turn their head from side to side or lower it in an attempt to get a fix and prepare for the strike. A third and less often used method is for herons to dive at prey from the air. I've only witnessed this once.

Attempting to photograph herons catching a meal often requires a lot of patience as meals can be few and far between sometimes. I've watched a heron for a long time, looked away for a few seconds and then back, only to see the heron swallowing a fish. It happens that fast and you have to be ready or you'll miss it. The wait can reward you, though, which makes it worthwhile to me. Understanding the behavior of any wildlife subject can help you anticipate good shots.